Hello everyone, in this SAP HANA Modeling tutorial we will learn how to create Attribute Views in SAP HANA Studio.
Prerequisites
- You should have installed SAP HANA Studio in your local machine.
- You should have connected to HANA system with your HANA DB Credentials.
Step-By-Step Procedure
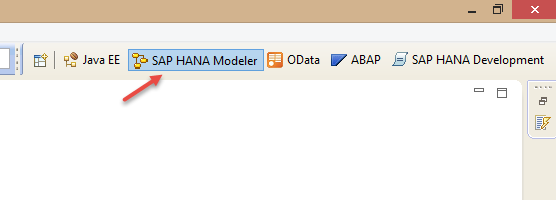
1. Navigate to Window → Open Perspective → SAP HANA Modeler to change the perspective of your HANA Studio to SAP HANA Modeler (OR) Select the SAP HANA Modeler perspective in the perspective shortcut which is at the top right corner of your SAP HANA Studio.

OR
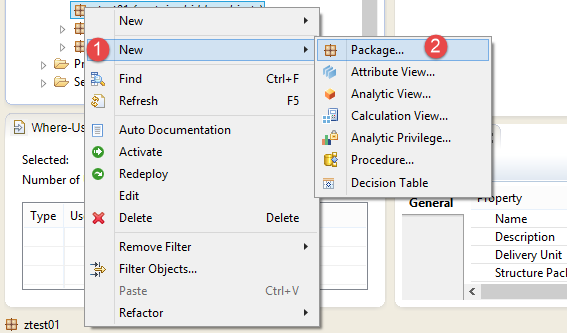
2. You will see four main folders Catalog, Content, Provisioning and Security in your HANA System.Expand the Content folder and create and New Package.
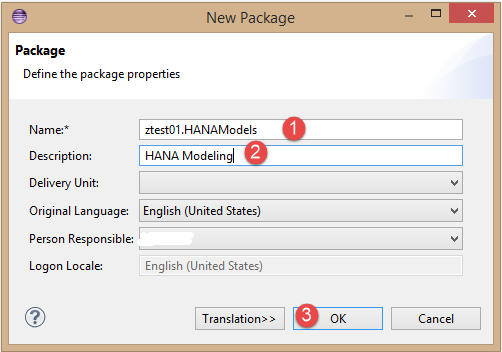
3. In the New Package Window, enter Name and Description and click on OK.
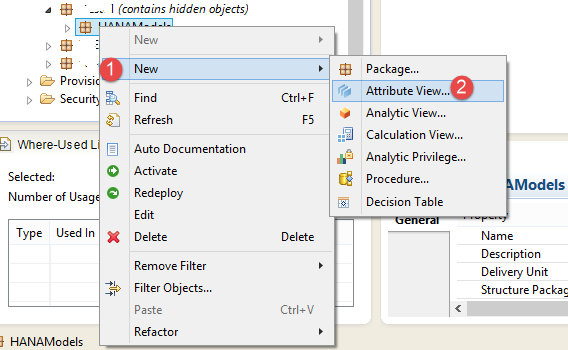
4. Right click on the package we created in the previous step and choose New → Attribute View.
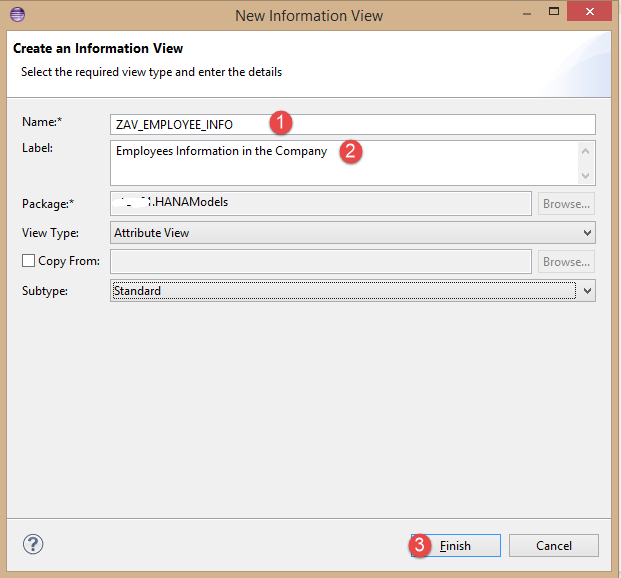
5. In the New Information View window, enter Name, Label and click on Finish.
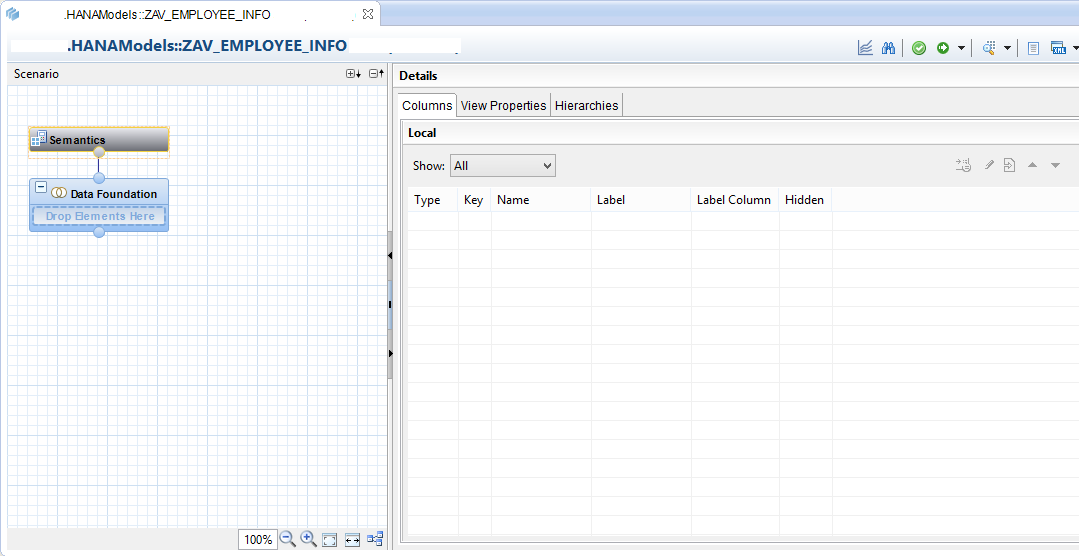
6. A new HANA modeling view editor opens like below.
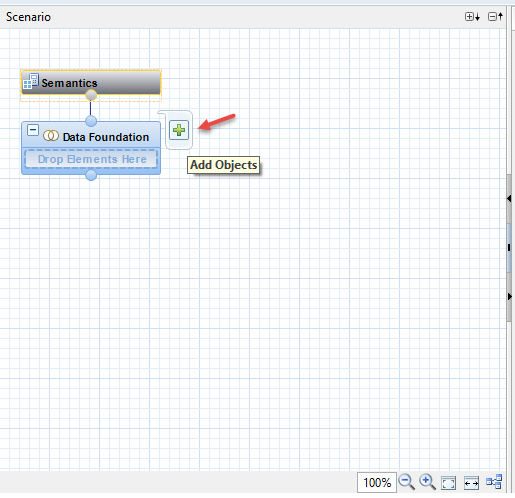
7. In the graphical editor of the HANA view editor, click on Add Objects. To see ![]() you need to hover on Data Foundation node.
you need to hover on Data Foundation node.
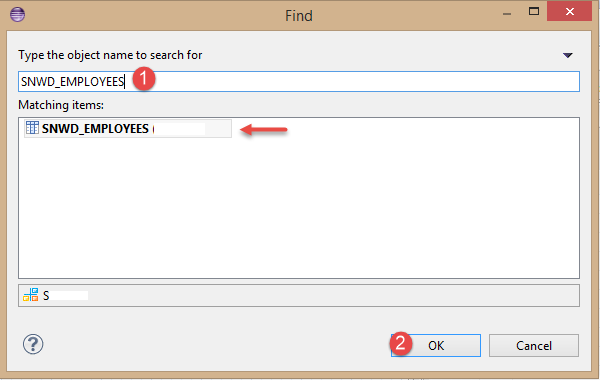
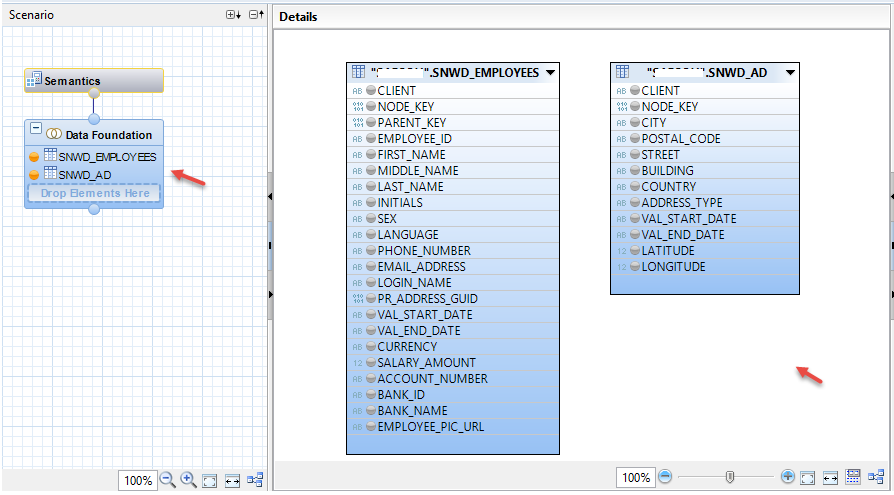
8. In this tutorial we are going to create Attribute View against Employee table in EPM data model.Tables used in this example are SNWD_EMPLOYEE and SNWD_AD. In the Find popup window search for these table and add them to the Data Foundation.
9. Repeat the Step-8 to add SNWD_AD table as well.
10. Now you can see both or tables were added and can see that like below screen.
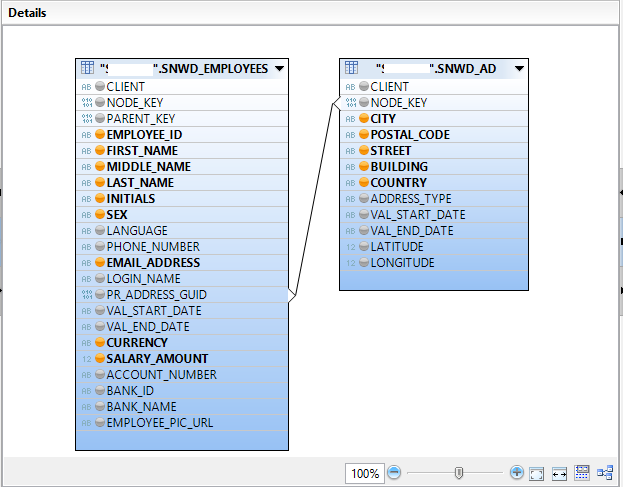
11. SNWD_EMPLOYEES table employee information and SNWD_AD stores the address of the employee. PR_ADDRESS_GUID is the field we can use to connect these two tables.Select this field and drag and drop to the NODE_KEY field in the SNWD_AD like below.
12. Now select the fields from these tables to show them in the output.
♦ Tip: To select the fields click on the circle which is left to the field until it turns to orange circle.
13. Now make the EMPLOYEE_ID as key attribute in this Attribute View. Select the field in the Output section and change the Key property as True.
14. Save and active the Attribute View by clicking on the Save and Active ![]() button on the top.
button on the top.
15. Now click on Data Preview button ![]() to see the data in the Attribute View.
to see the data in the Attribute View.
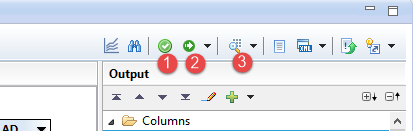
- Save.
- Save and Active.
- Data Preview.
Output of Attribute View
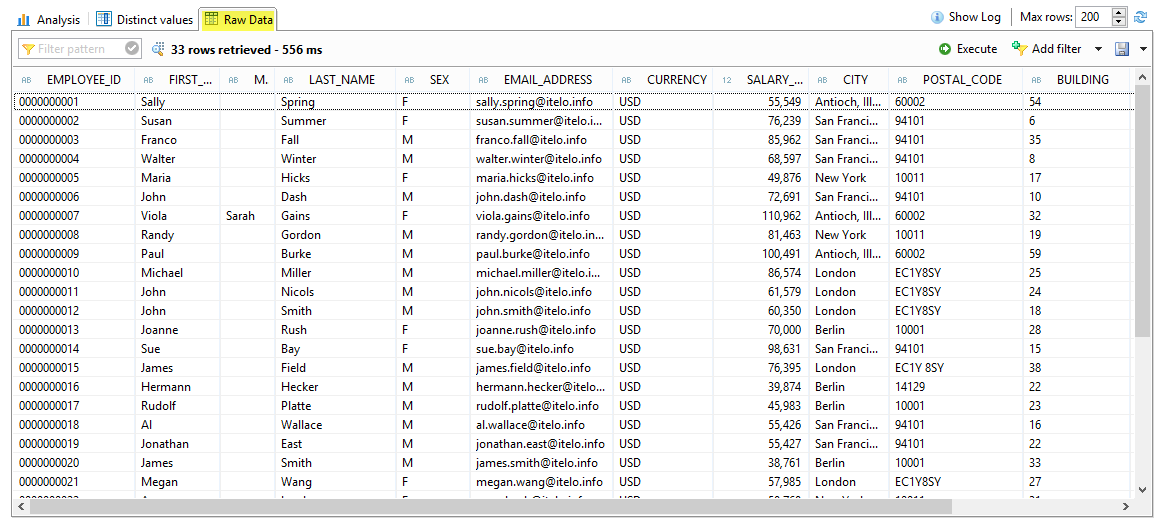
You have successfully created Attribute View in SAP HANA Studio.
Please stay tuned to us for more SAP HANA tutorials.Please feel free to comment and let us know your feedback. You feedback will keep us alive.
Thank you. 🙂
![]()


Comments are closed.