Dear SAPLearners, in this blog post we will learn on How to create ABAP Cloud Project using ABAP Development Tools which eclipse based.
Prerequisites
Before you start, make sure you have
- Download the latest version of eclipse based ABAP Development Tools from https://tools.hana.ondemand.com/#abap
Step-by-Step Procedure
1. Open ABAP Development Tools (ADT).
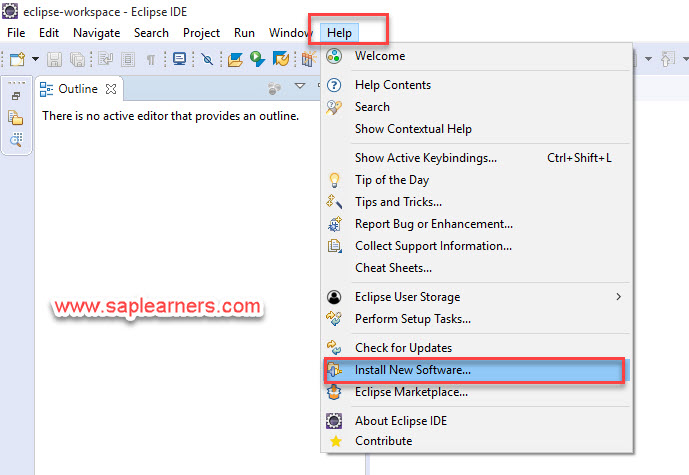
2. In Eclipse IDE, navigate to Help -> New Software
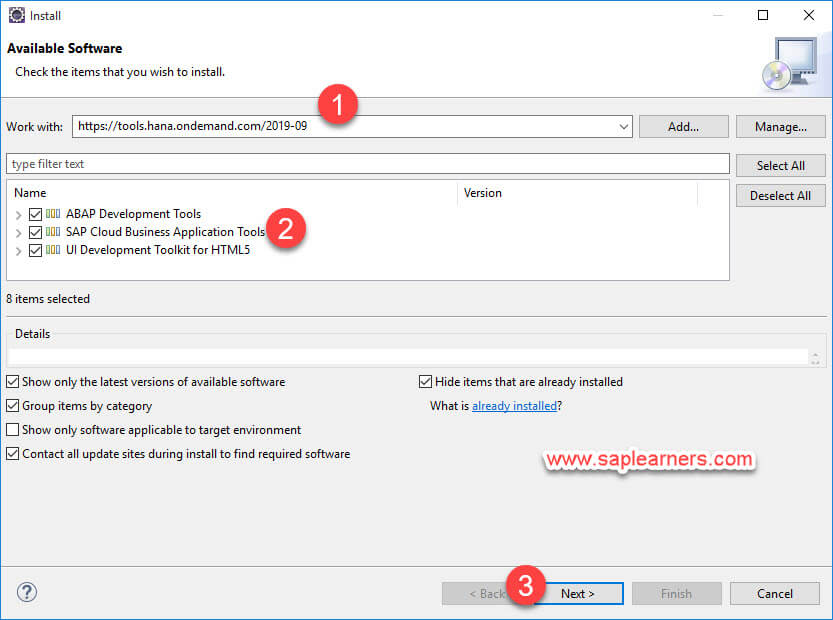
3. On Available Software window, enter URL https://tools.hana.ondemand.com/2019-09 in Work with field and hit Enter. Choose all development tools available like below and hit Next.
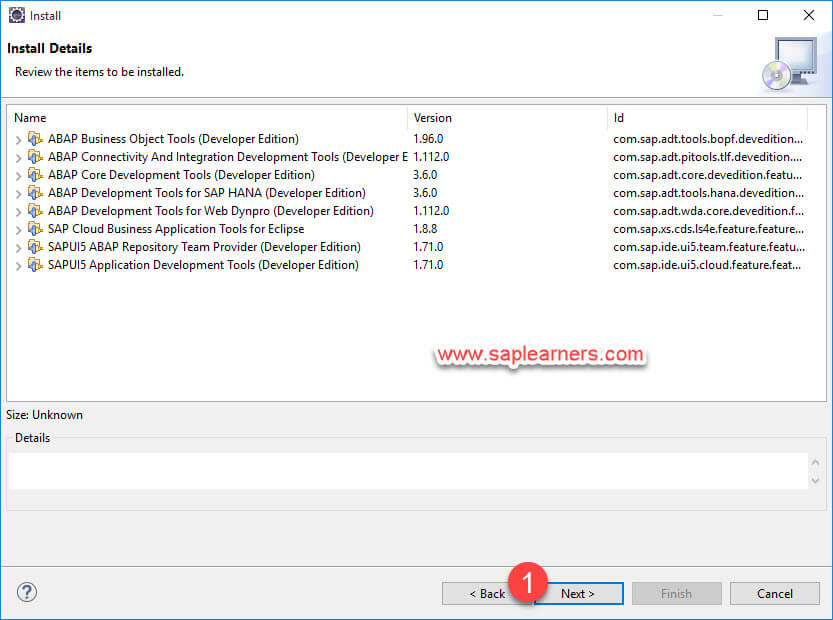
4. On Install Details window, hit Next
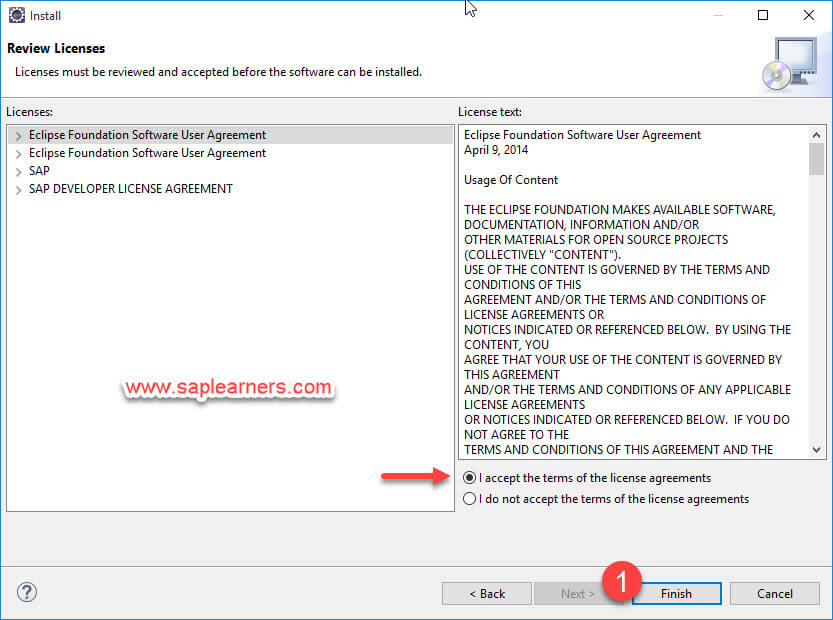
5. On Review Licenses window, accept the license agreements and hit Finish to start the installation.
6. After successfully installation, restart the Eclipse IDE.
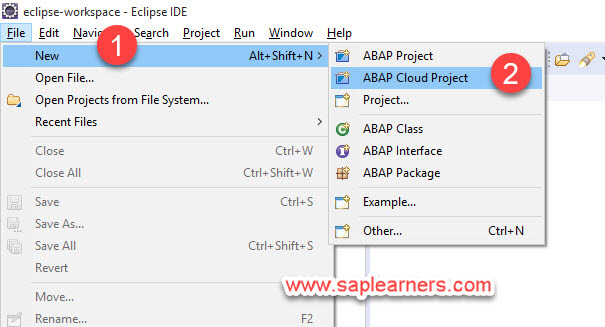
7. Choose New -> ABAP Cloud Project
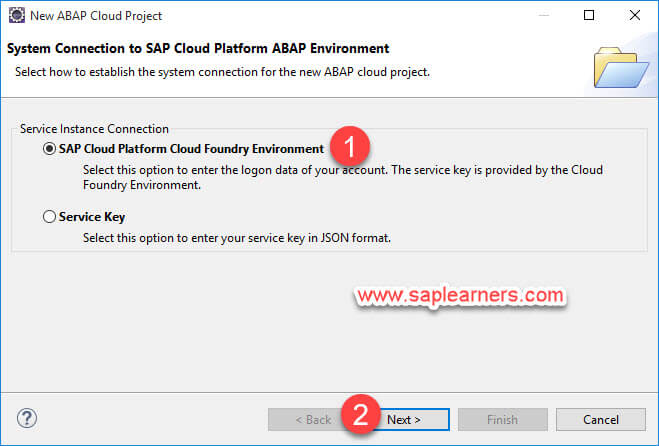
8. On System Connection window, choose SAP Cloud Platform Cloud Foundry Environment as service instance connection option and hit Next.
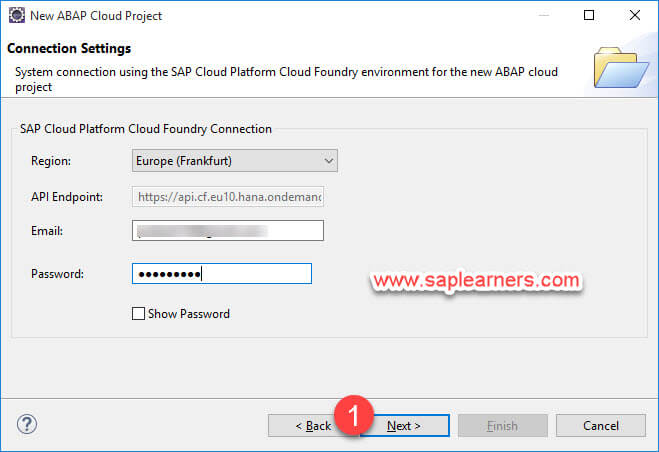
9. On Connection Settings window, provide all necessary information like below and hit Next
| Region | Europe(Frankfurt) |
| API Endpoint | automatically populates based on region |
| email id of SAP Cloud Platform | |
| Password | password of SAP Cloud Platform |
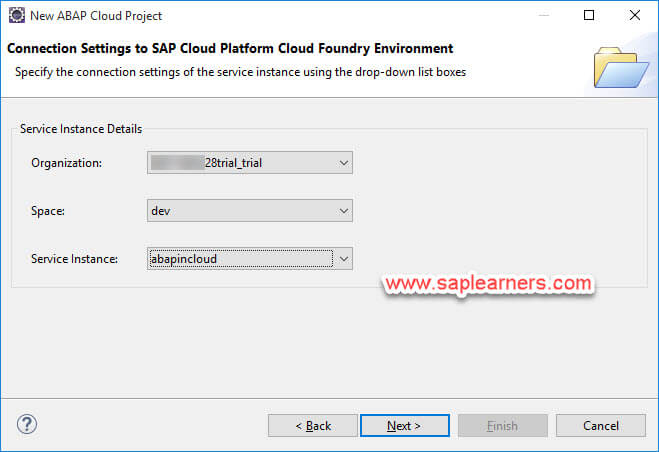
10. On Service Instance Details window, provide the details by using the drop-down list boxes.
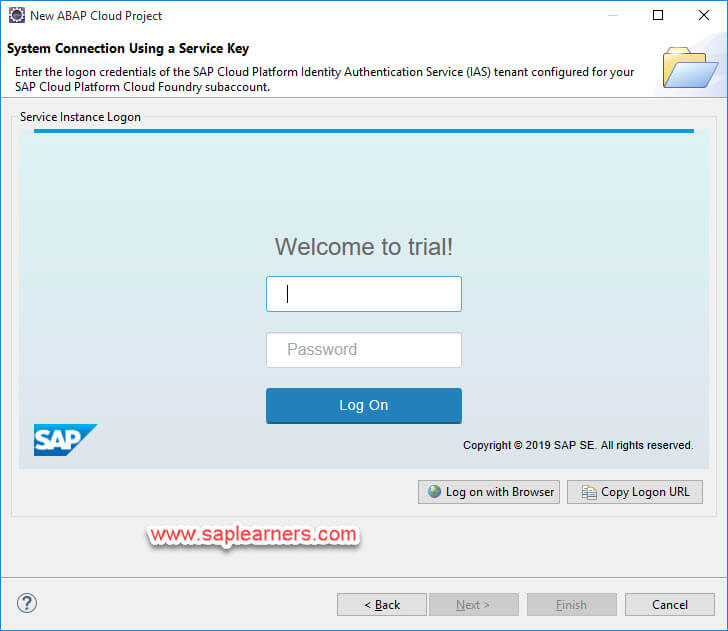
11. On Service Instance Logon window, provide SAP Cloud Platform credentials and hit Logon.
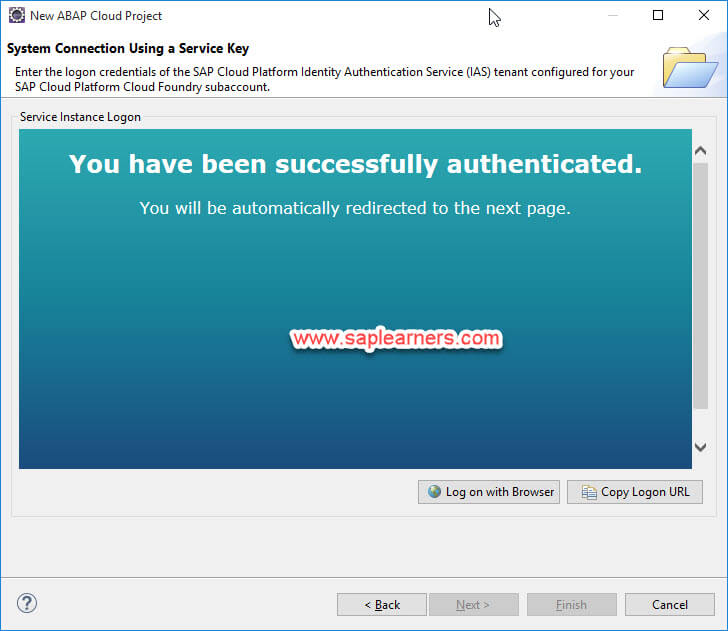
12. You will successfully authenticated and automatically redirected to the next page.
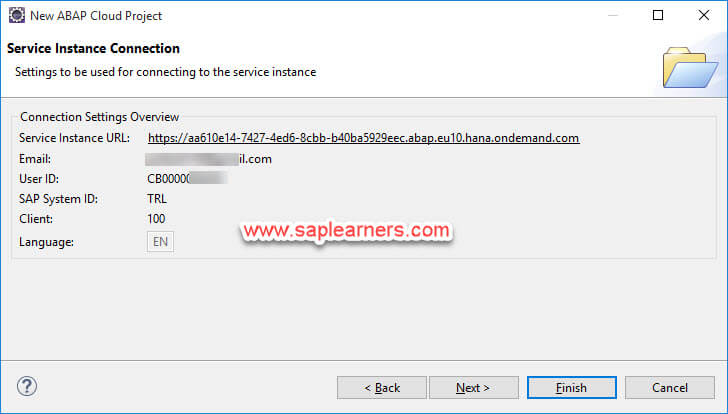
13. ABAP Connection System details are displayed like below.
14. Finally, a new ABAP Cloud Project is created.
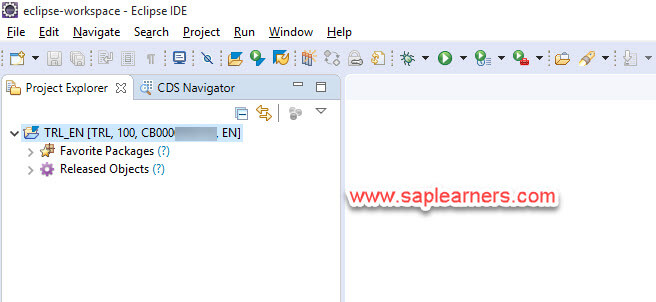
Congrats!! you have successfully created ABAP Cloud Project using ABAP Development Tools on SAP Cloud Platform Cloud Foundry.
Please feel free to comment and let us know your feedback. Subscribe for more updates.
if you liked it, please share it! Thanks!
Other References
How to create trial ABAP system on SAP Cloud Platform Cloud Foundry environment


